# Deploy a single Hummingbot instance with Docker Compose
This installs a single [Hummingbot](https://github.com/hummingbot/hummingbot) instance as a Docker container.
## Prerequisites
This configuration requires [Docker Compose](https://docs.docker.com/compose/), a tool for defining and running multi-container Docker applications. The recommended way to get Docker Compose is to install [Docker Desktop](https://www.docker.com/products/docker-desktop/), which includes Docker Compose along with Docker Engine and Docker CLI which are Compose prerequisites.
Docker Desktop is available on:
* [Linux](https://docs.docker.com/desktop/install/linux-install/)
* [Mac](https://docs.docker.com/desktop/install/mac-install/)
* [Windows](https://docs.docker.com/desktop/install/windows-install/)
## Apple M1/M2 and other ARM machines
If you have a recent Mac that uses Apple Silicon (M1/M2) chipset or another ARM-based machine, you need to change the image tag to ensure that you pull a container that is optimized for your chip architecture.
Use an IDE like [VSCode](https://code.visualstudio.com/) to edit the `docker-compose.yml` file. Change the the image tag from `latest` to `latest-arm` to pull the image built for ARM-based machines. You can also comment out the line that contains `latest` and uncomment the line that contains `latest-arm`:
```
# image: hummingbot/hummingbot:latest
image: hummingbot/hummingbot:latest-arm
```
Afterwards, save the file and proceed to the next step.
If you are using a Mac with an Intel (x86) chipset, Windows or any other Intel-based machine, you don't need to make any changes before deploying a container.
## Getting Started
If you have installed Docker Compose successfully, the `docker-compose` command should be available in Terminal/Bash:
```
docker-compose
Usage: docker compose [OPTIONS] COMMAND
```
Clone this repo or copy the `docker-compose.yml` file to a directory on your machine where you want to store your Hummingbot files. This is where your encrypted keys, scripts, trades, configs, logs, and other files related to your bots will be saved.
From that directory, run the following command to pull the image and start the instance:
```
docker-compose up -d
```
You should see the following output:
```
[+] Running 1/1
⠿ Container simple_hummingbot_compose-bot-1 Started
```
After it has started, attach to the instance:
```
docker attach simple_hummingbot_compose-bot-1
```
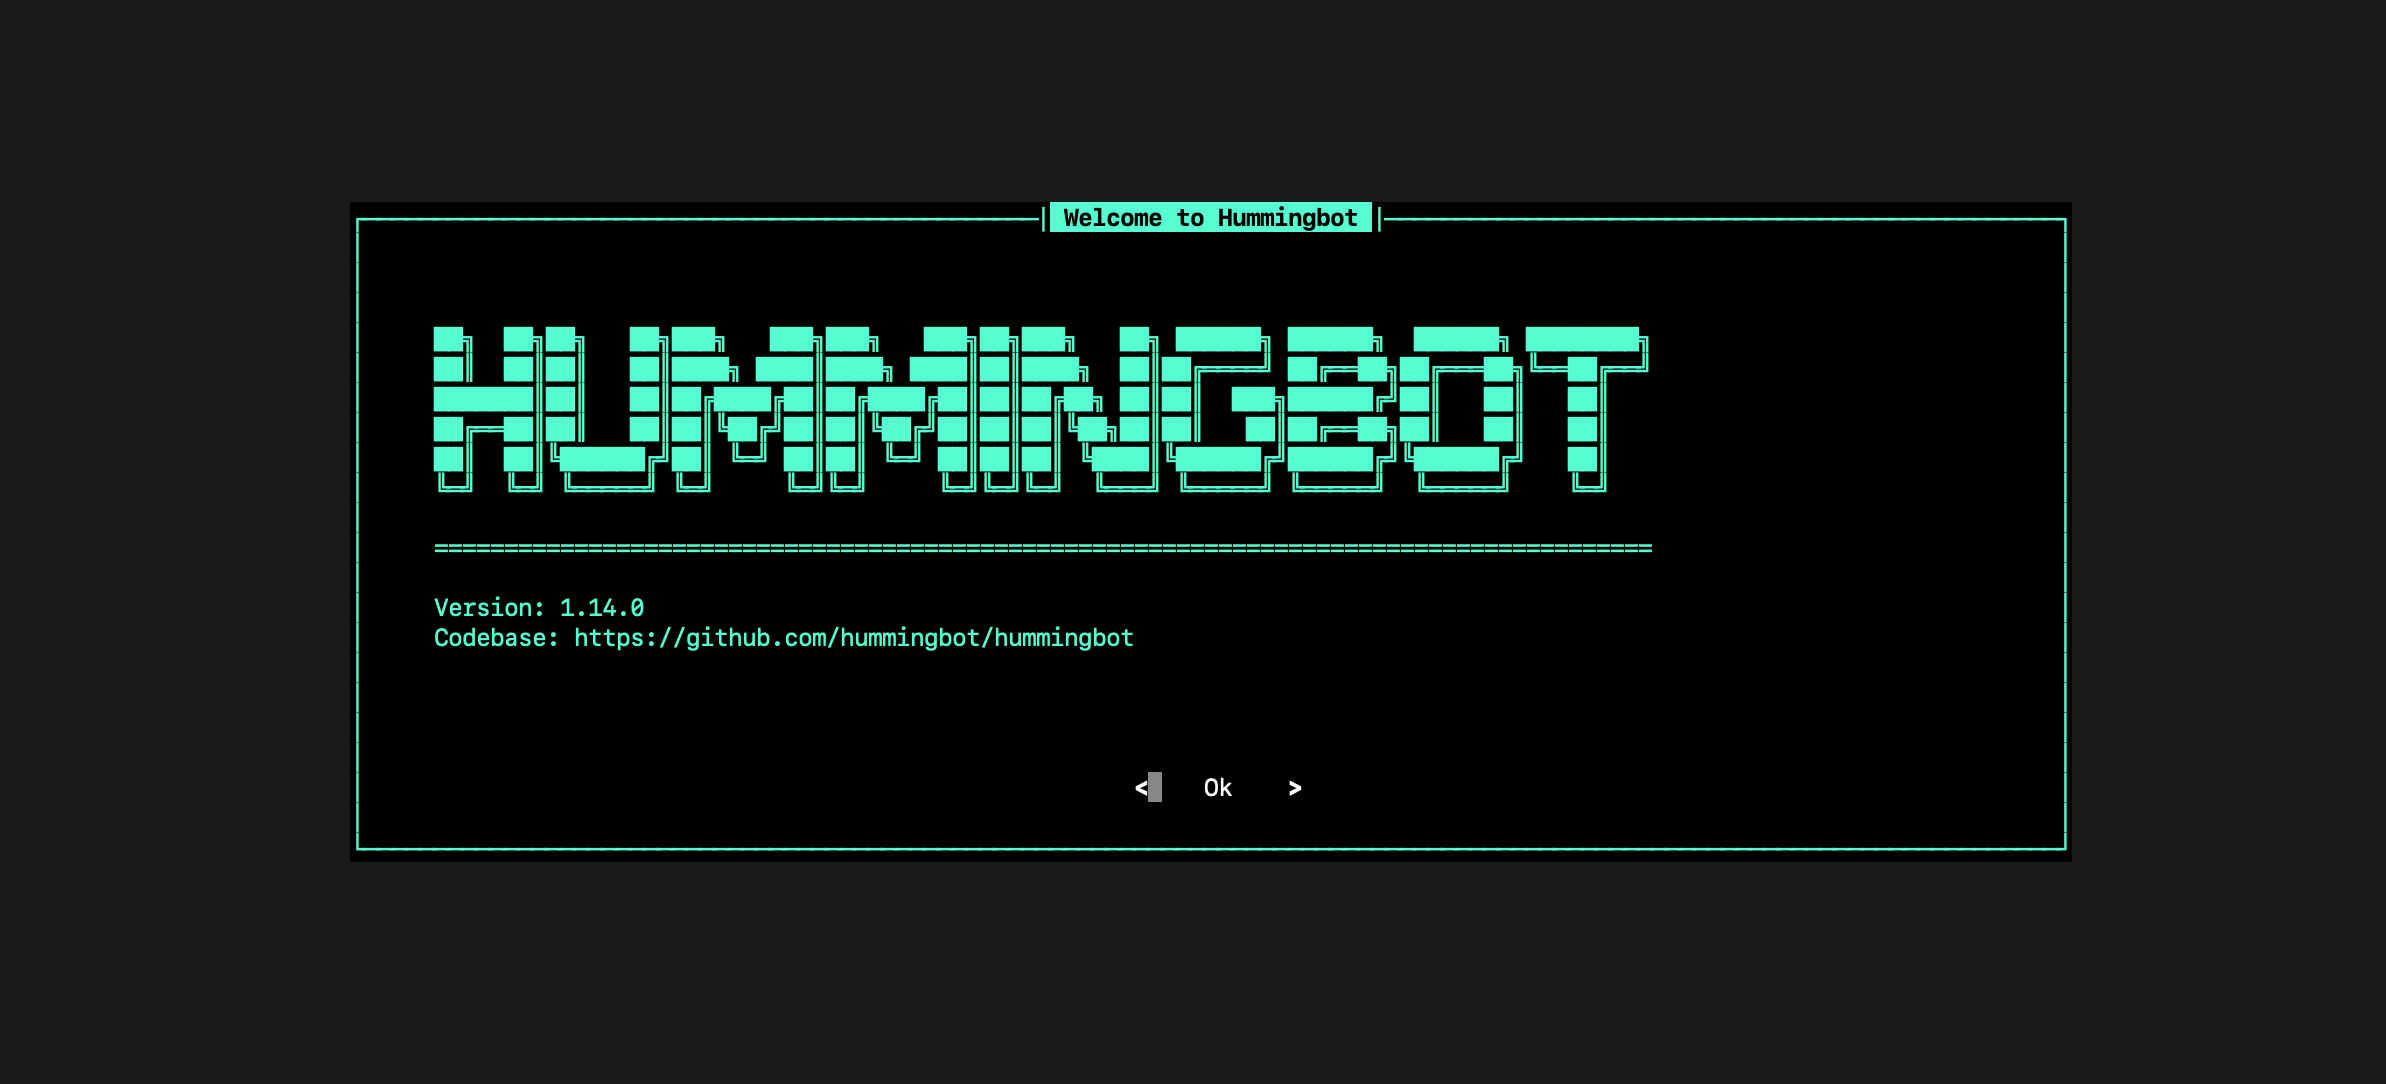
If installation was successful, you should see the Hummingbot welcome screen:
To get started with Hummingbot, check out the following docs:
* [Basic Features](https://docs.hummingbot.org/operation/)
* [Quickstart Guide](https://docs.hummingbot.org/quickstart/).
* [Hummingbot FAQ](https://docs.hummingbot.org/faq/)
## Useful Docker Commands
Use the commands below or use the Docker Desktop application to manage your Hummingbot container:
### Create the container
```
docker-compose up -d
```
### Attach to the container
```
docker attach simple_hummingbot_compose-bot-1
```
### Detach from the instance and return to command line
Press keys Ctrl + P then Ctrl + Q
### Update the container to the latest image
```
docker-compose up --force-recreate --build -d
```
### List all containers
```
docker ps -a
```
### Stop a container
```
docker stop
```
### Remove a container
```
docker rm
```